Note, since this was published my girlfriend has changed!
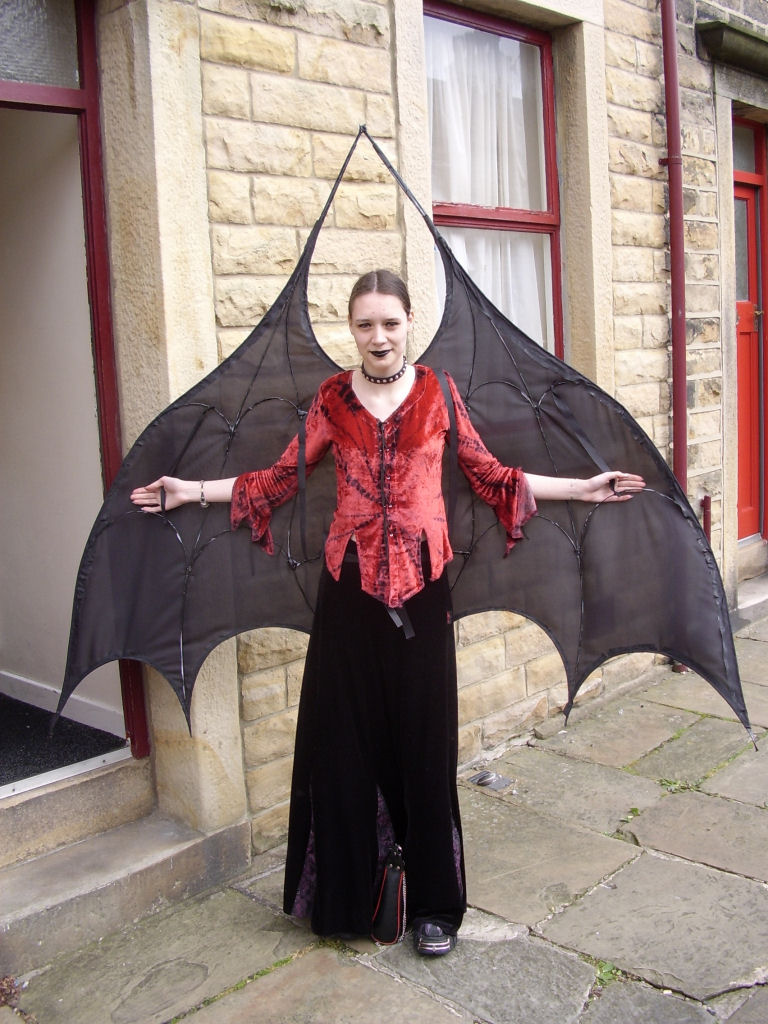
My girlfriend and her wings outside her house
Pictured left is my beautiful girlfriend and her lovely wings. We built the wings in a couple of weeks for a RocSoc Ball (in which she won best dressed female).
It was rather simple to build the wings, it just took a lot of time, effort, and shouting. If you would like to build your own wings here is a step by step, that we created from the photos we took during the build.
This is what you will need to build such wings:
- 5 Collapsible Laundry baskets (from the pound shop)
- 10m Black Gaffer Tape (from B&Q)
- 2m2 Black Material (from the nice lady in the material shop)
- 2m Black Ribbon
- 1 Bottle Fabric Glue
- 1 Reel of Black Cotton
- Wire cutters
- Scissors
- Lots of space
- A beautiful female assistant (optional)
Step 1 Destroy some Laundry baskets
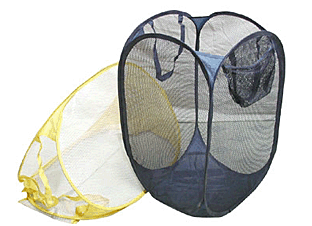
Collapsible Laundry Basket
To make the wings flexible yet strong enough they have a frame made from flat strips of flexible metal. We found that these cheap collapsible laundry baskets contained wire prefect for the job, and each large hamper contained four 2 metre lengths.
It is easy to remove the wire from the baskets. We originally spent a couple of hours unpicking the stitching so that we could use the mesh material, but in the end we decided we weren’t going to use the material so cutting the baskets open would been far quicker.
Step 2 Construct the frame
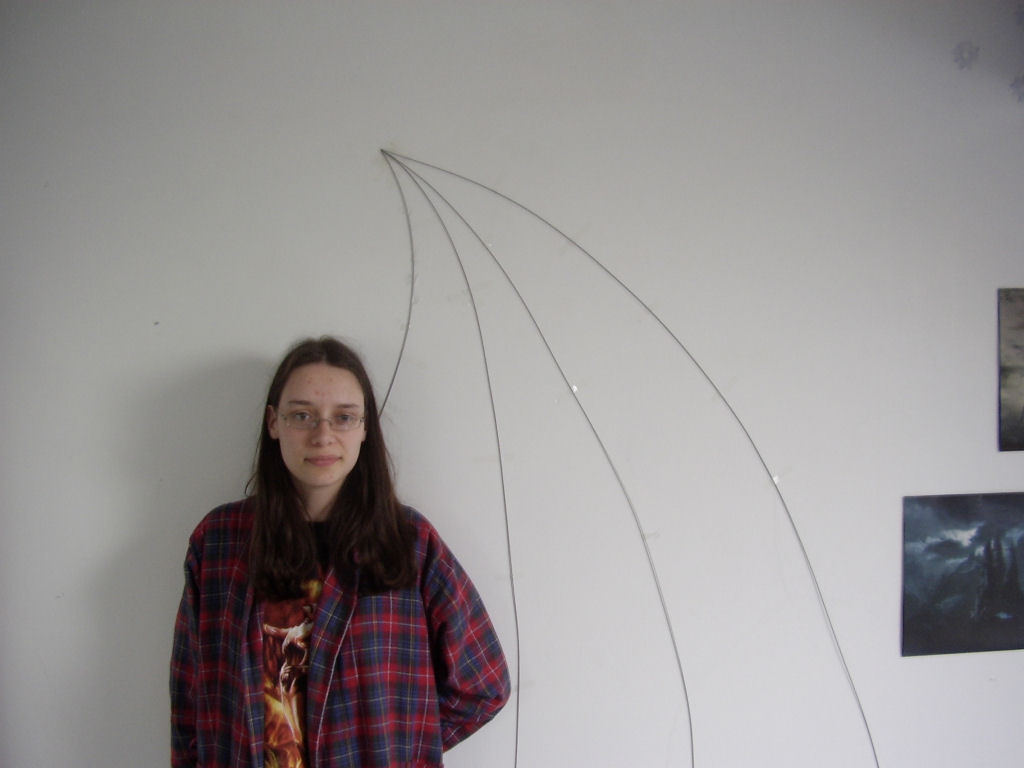
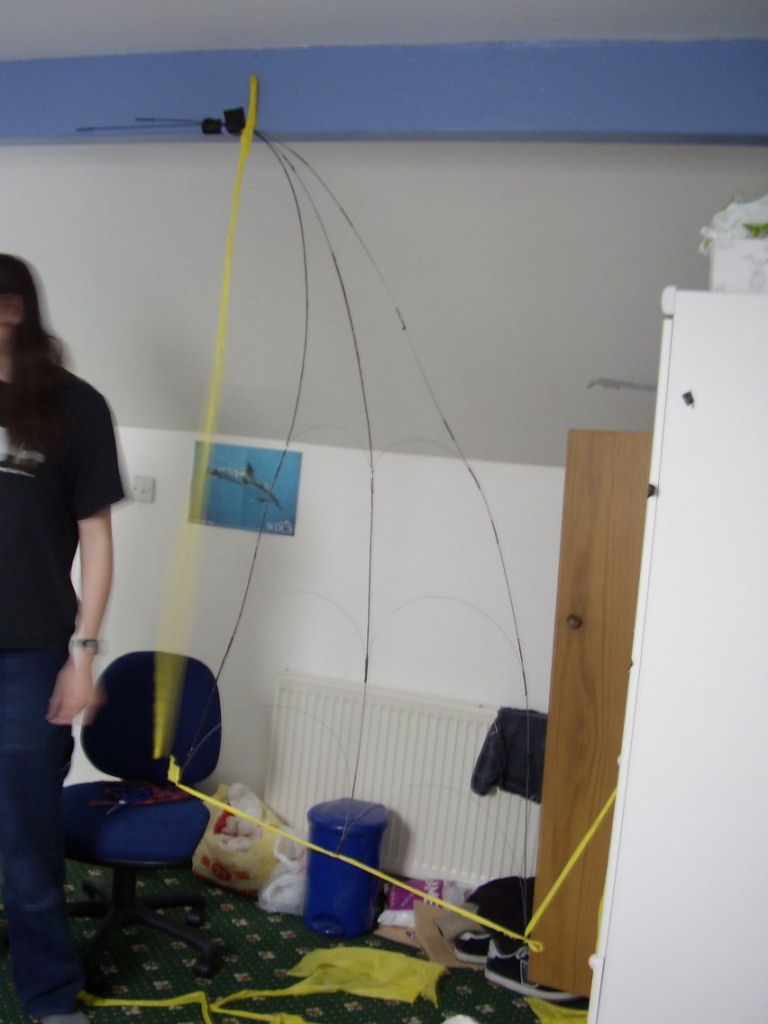
Mock of the wings stuck to the wall
Since we had no idea what we were doing we decided to make only one wing to begin with. To help design the first wing we taped the metal wire to the wall to get a feel of the size and style. Once we had finalised the shape we started constructing a wing from the design on the wall.
To make the frame stronger we doubled up the metal on all the main vertical pieces, and used only a single wire for the horizontal pieces. Some of the pieces of metal required to be shortened and this was achieved by flexing the metal with a pair of pliers until the metal snapped. I’m sure a saw would have been better, but snapping it was quick and easy.
Mock of the wings stuck to the wall
We used black gaffer tape at each of the joints to hold everything together. We looked at using metal glue but found it to be too brittle. We also considered welding the frame, but we didn’t have a welder. Since there was tape at the joints we felt it would look better with black gaffer tape covering the whole frame. This hide the fact it was metal, and to gave it a nice texture.
To make it easier to wrap all the tape around the frame we hung the frame up with some left over basket material.
Step 3 Construct the other wing
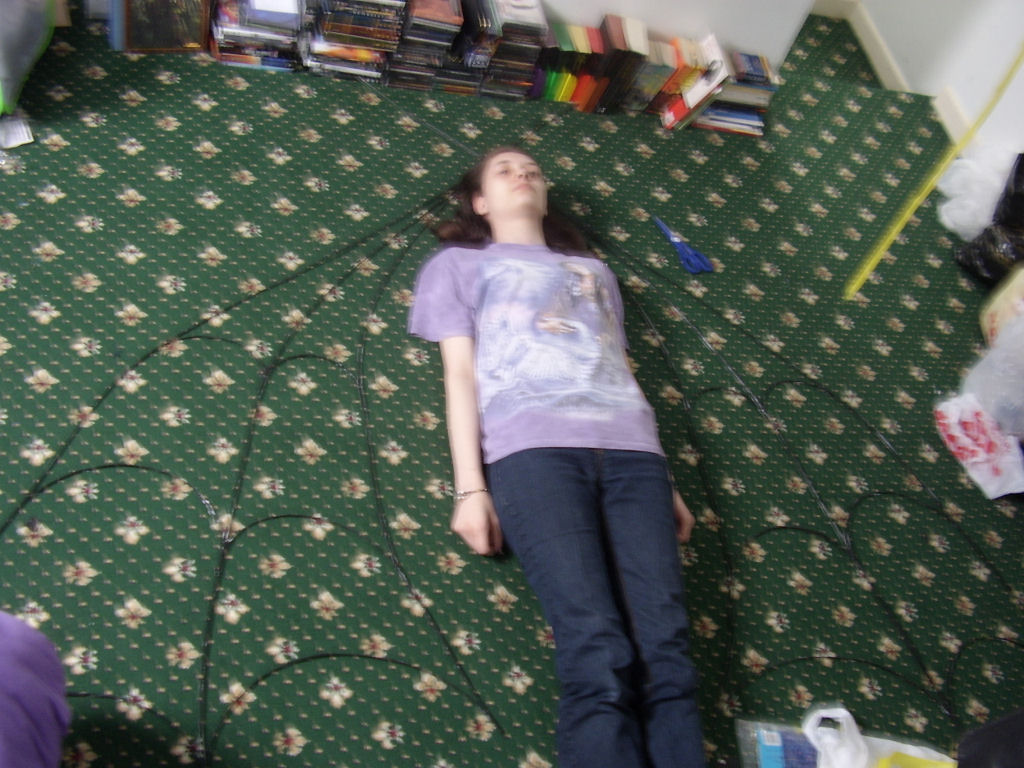
The two wings laid out on the floor
Once the first wing was made it was quick and easy to make the second wing. We cut pieces of metal to match the lengths on the first wing, and we joint everything in the same place, to try and follow the shape of the first wing as close as possible.
Step 4 Joining the wings
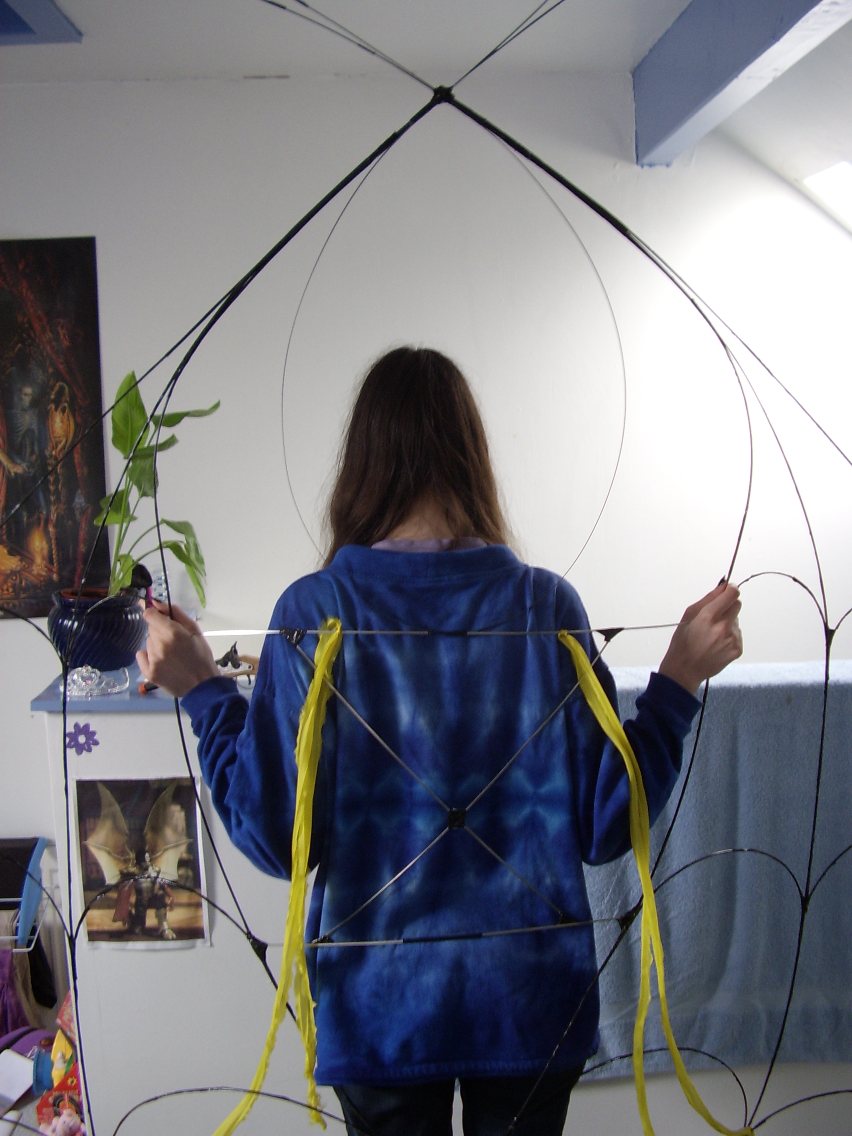
The two wings joined together
When the 2nd wing was complete we placed them together to start to decide where to join the wings. Also we found to keep the wing flexed out we had make some adjustments by joining the apex higher up, and adjusting other joints. We also constructored a stronger back piece that we would attach the straps to, and hopefully hold the entire frame.
Step 5 Adding the fabric

The wings with fabric
We found some cheapish light weight fabric in a local shop, and we cut enough to completly cover the wings in one piece. We first cut the rough shape of the wings in the fabric with about 2cm to spare around the edge. We tried to attach the wings by folding the excess over the frame and glueing it down, however this didn’t work out too well as the fabric glue didn’t hold. Instead we folded over the excess and simply stiched it around the entire frame. This kept it secure and looked a lot neater than fabric glue.
With some of the ribbion we attached it securely to the frame, and made straps, which could be placed over each arm, and one around the waist
Step 6 We are finished
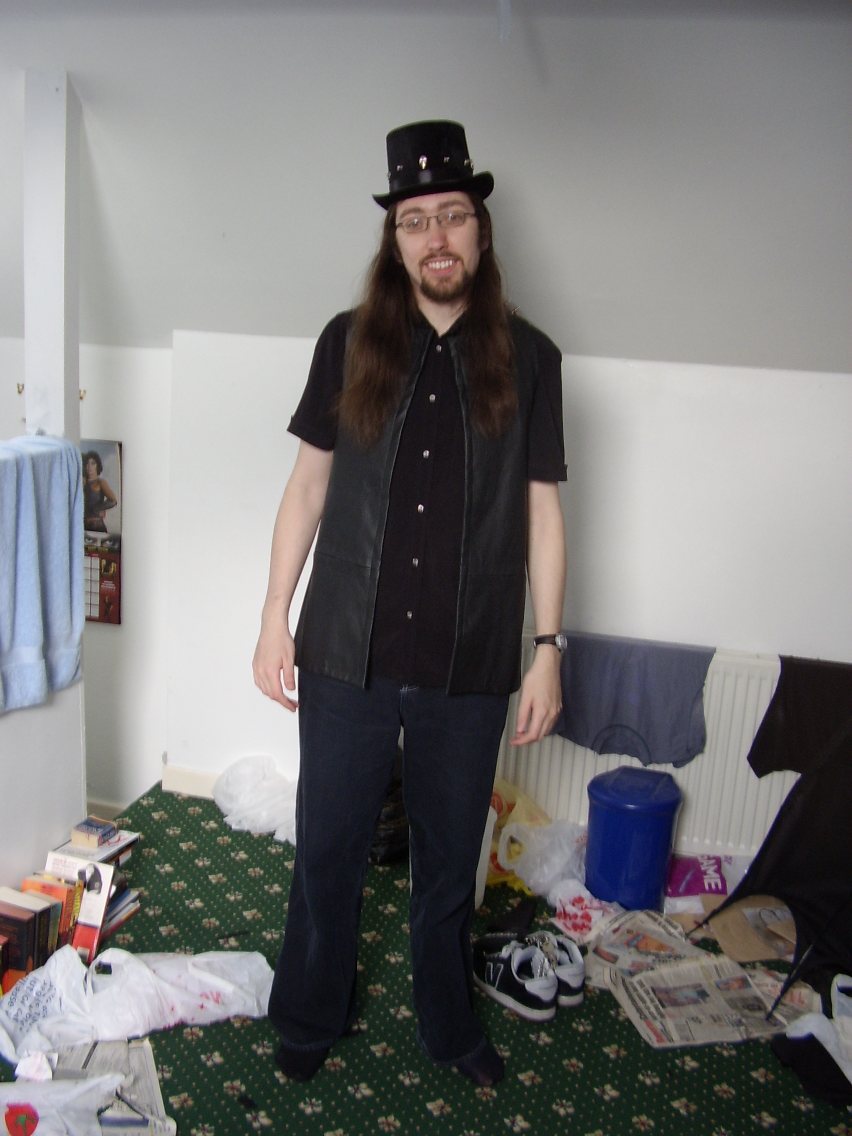
After a few test wears, and a couple of adjustments, we were finished and ready to go to the ball.
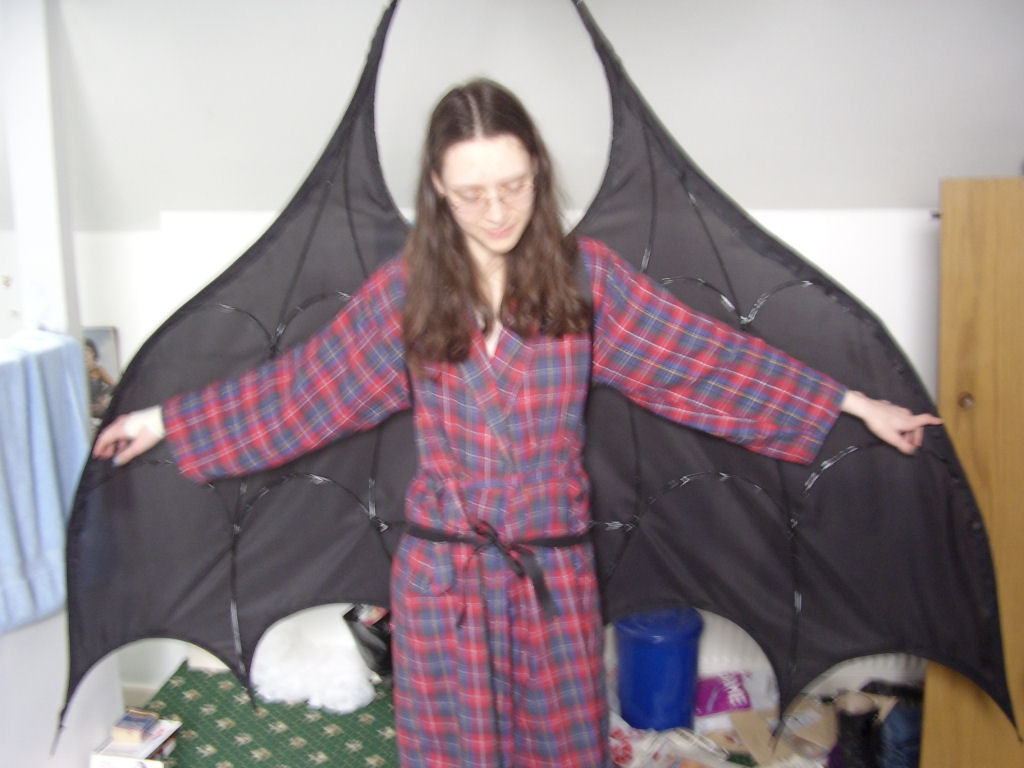
The first test of the wings